Circle Scarf Ingredients:
3/4 yards of fabric 54'' in width (from selvage to selvage)
or 1.5 yards (54") any width cut to 27" would be even better!
Matching thread or non-matching if you wish
Fabric Scissors
Measuring tape
Sewing Machine (or just a needle if you're going to hand-sew)
Needle
Fabric pencil or chalk
To be completely honest, the fabric I bought is a decorating fabric and so is of the 54" wide variety. It was pricier than I expected so to save money I bought only 3/4 of a yard. If you choose to do this, you'll have to follow this tutorial from Step 1 to the finish. If you found a fabric you loved and were able to buy a whole yard and a half no problem, then you can join me at Step 4 and follow along to the finish.
Step 1
Fold your fabric in half from selvage edge to selvage edge and iron a crease.
Use your fabric pencil to trace the crease and then your scissors to cut on the line.
This will divide your material into two equal pieces with a selvage edge on each piece.
Step 2
Place your two pieces right sides facing each other. (Important: Your selvage edges should not be touching.)
Step 3.
Pin and sew from one selvage edge to the other selvage edge leaving a .75" seam allowance. This will give you one long piece of fabric. It should be nearly 54" long now and 27" wide.
Step 4.
Fold the fabric in half right sides facing so when it's folded and laying flat it looks like it is 54" long and only 13ish" wide. Match up the seams you made earlier for the cleanest look. It helps to iron down those seam wings as you see in the photo below.
Step 5.
Pin and sew the long edge leaving a .75" seam allowance. When you finish with Step 5 you should have a long tunnel of fabric wrong side out.
Step 6.
Start pulling one end of the tunnel through to line up with the other end so that right sides of the fabric are facing. This is a difficult step to explain so if you have a question feel free to ask me in a comment or in an email (feminineuniquenew@gmail.com).
Step 7.
Pin and sew together leaving a 3" gap. I like to put pins in an x at the point where I need to stop sewing. This way I don't accidentally sew my scarf shut!
Step 8.
Through the gap pull the scarf slowly right side out. After this step your scarf is nearly finished with the exception of the 3" hole along that seam line.
Step 9.
Blind stitch by hand the small opening closed.
Step 10.
Iron if you wish... or be done. You can wear it hanging long or wrapped around twice. Either way you'll love it!
Happy sewing everyone...

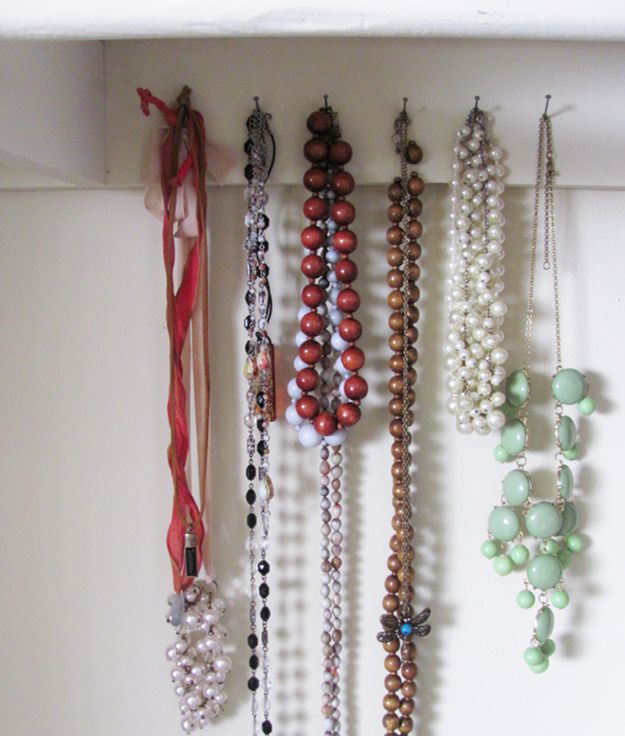

 The perfect place for practicing mixing and matching your jewelry. You never know what adorable combination you may happen upon.
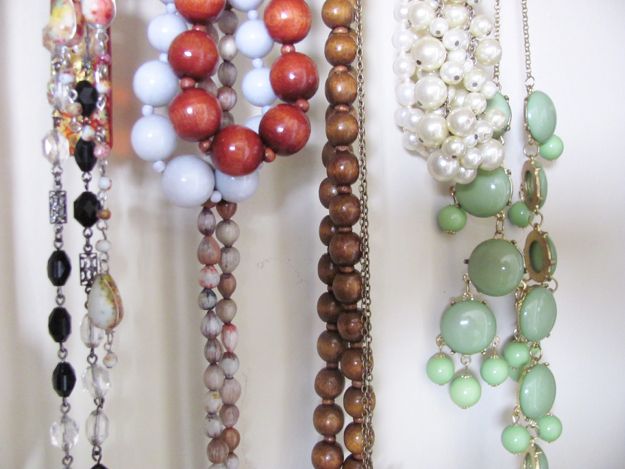
 The perfect place for practicing mixing and matching your jewelry. You never know what adorable combination you may happen upon.

 How do you store your necklaces?
 How do you store your necklaces?


